"b197a5efe7f699a5"{"id":"24703","slug":"sakuga-toon-shader-cycles-eevee","title":"Sakuga Toon Shader Cycles \u0026 Eevee","category":"Blender Add-ons \u0026 Plugins","engine":"Version details listed","assetVersion":"","engineVersion":"","tag":"Blender Add","accent":"teal","visual":"luts","summary":"Sakuga Toon Shader Cycles \u0026 Eevee brings a procedural toon-shading workflow to Blender models without UV mapping. It combines Metallic and Point Light lighting modes with rimlights, outlines, paint textures, flares, and a monkey demo scene for testing the s...","platform":"Blender","updatedAt":"2026-04-20","sourceNotes":[],"fileContents":[],"compatibility":["Blender"],"featuredImage":{"alt":"Sakuga Toon Shader Cycles \u0026 Eevee","src":"https://3dcghub.com/wp-content/uploads/2026/04/9bab9e400a7b_bd11f54388192f292bbd226ff6818e04.webp"},"hasDownloadLink":true,"galleryImages":[{"src":"https://3dcghub.com/wp-content/uploads/2026/04/6f3b8aeee293_9af98a151b8f927e6ea8561263eaf048.webp","alt":"Sakuga Toon Shader Cycles \u0026 Eevee"},{"src":"https://3dcghub.com/wp-content/uploads/2026/04/bc1bec11518e_90630599f86ab872d41ee42403923aa4.webp","alt":"Sakuga Toon Shader Cycles \u0026 Eevee"},{"src":"https://3dcghub.com/wp-content/uploads/2026/04/564c8310e65f_c229e1e916c7cebe79e76815a9b43660.webp","alt":"Sakuga Toon Shader Cycles \u0026 Eevee"},{"src":"https://3dcghub.com/wp-content/uploads/2026/04/9df4a113a015_467c7d96a464d2afd4b5a097f0fffee6.webp","alt":"Sakuga Toon Shader Cycles \u0026 Eevee"},{"src":"https://3dcghub.com/wp-content/uploads/2026/04/5749a7224b60_b1d7c85c6a633bbfa9f86e78e9d05673.webp","alt":"Sakuga Toon Shader Cycles \u0026 Eevee"},{"src":"https://3dcghub.com/wp-content/uploads/2026/04/caed89c9e569_aa3e9cbeabcb0d1bafd08b16fcf135e7.webp","alt":"Sakuga Toon Shader Cycles \u0026 Eevee"},{"src":"https://3dcghub.com/wp-content/uploads/2026/04/21e926b4d04c_47d941ac49c45c517e57d1ed3381cfdd.webp","alt":"Sakuga Toon Shader Cycles \u0026 Eevee"},{"src":"https://3dcghub.com/wp-content/uploads/2026/04/cc8b64772925_1ae006d17a644a6538cc0872d3c619b4.webp","alt":"Sakuga Toon Shader Cycles \u0026 Eevee"},{"src":"https://3dcghub.com/wp-content/uploads/2026/04/21fc068597ed_ef4ec87c97cd870f5f63da5461658c75.webp","alt":"Sakuga Toon Shader Cycles \u0026 Eevee"},{"src":"https://3dcghub.com/wp-content/uploads/2026/04/fd551127f983_62466e46c9687cd61e48356cce4aacff.webp","alt":"Sakuga Toon Shader Cycles \u0026 Eevee"}],"accessPanel":{"kind":"resource","title":"Access this resource","eyebrow":"Free protected download","message":"Sign in or create an account to continue to the protected download through the managed storage service.","fileName":"Sakuga Toon Shader.7z","safetyNote":"All resources are 100% manually reviewed to eliminate all risks.","actionLabel":"Download Free","resourceType":"Resource archive","sourceShortcode":"cryptomus_member"},"contentHtml":"\u003cp\u003eSakuga Toon Shader Cycles \u0026 Eevee gives Blender a toon-shading workflow that skips UV mapping and stays procedural. The shader can be dropped onto a 3D model, then adjusted through lighting and shader controls, with support for both Cycles GPU rendering and Eevee.\u003c/p\u003e \u003ch2\u003ePlace the shader on the model, then shape the lighting\u003c/h2\u003e\n\u003cp\u003eThe setup is direct: apply the shader, adjust the lighting, and tune the result to fit the model. No UV mapping is needed, which keeps the process centered on shading rather than texture preparation.\u003c/p\u003e\n\u003cp\u003eThat keeps the collection easy to work into an existing scene. The main controls stay inside Blenderâs material setup, and the shader behavior remains procedural instead of depending on baked texture steps. For toon work, that means the look can be steered through the node setup and the light arrangement rather than through separate UV work.\u003c/p\u003e \u003ch2\u003eChoose between Metallic and Point Light behavior\u003c/h2\u003e\n\u003cp\u003eEach shader includes two lighting variations. Metallic Lighting follows the camera when the object or camera moves, creating a glossy metallic look. Point Light follows a designated object you select, giving the standard toon-shader lighting behavior.\u003c/p\u003e\n\u003cp\u003eThe two modes serve different kinds of shots. Metallic keeps the highlight response linked to camera movement, while Point Light holds the lighting relationship to a chosen object. The collection also includes a deconstructed version for better customization, which gives more room to adjust the shader structure instead of relying only on the finished look.\u003c/p\u003e \u003ch2\u003eLayer in rims, outlines, paint textures, and flares\u003c/h2\u003e\n\u003cp\u003eThe shader set goes beyond the base toon surface. Rimlights and outlines can push the silhouette, while additional lighting options shape the surface response. Paint textures, shader masks, and flares add more control over the final look, and the included monkey demo scene gives a ready setup for checking how the pieces behave together.\u003c/p\u003e\n\u003cp\u003eThe package includes 4 rimlights, 10 outlines, 3 different paint textures, 17 flares, and 3 shader masks. Lineart for Shader Editor is included for Cycles, which adds another tool for edge treatment in that render path. The collection also presents multiple shader styles with different lighting variations, so the same material family can move toward different toon directions without rebuilding the setup from scratch.\u003c/p\u003e \u003ch2\u003eKeep Cycles settings in mind before rendering\u003c/h2\u003e\n\u003cp\u003eThe development focus is primarily on Cycles, and the practical limitations matter when the shader is used in production. GPU rendering in Cycles is not supported with OptiX, so Cycles Render Devices needs to be set to \"None\" to enable GPU rendering. That detail shapes how the shader should be prepared before a final render.\u003c/p\u003e\n\u003cp\u003eEevee support is present, but some features do not behave as expected there. One example is that the shaders currently cannot receive cast shadow from other objects. That makes Cycles the safer place to validate shading behavior first, especially when the shot depends on shadow response or on the way the lighting reacts to motion.\u003c/p\u003e \u003ch2\u003eUpdates added shadow catching and new shader pieces\u003c/h2\u003e\n\u003cp\u003eVersion 2.0 added shadow catching. With the Blender 3.5 update, the shaders also integrate OSL scripts, which brings GPU rendering with Cycles into the workflow and opens up more room for experimentation. The update also added a Lineart Shader for Shader Editor, Light Decay, Impact Shader, Paint Shader 1, and Paint Shader 2.\u003c/p\u003e\n\u003cp\u003eVersion 1.1 added Caustic Shader, Nebula Shader, Point Light Mask, Edge Mask, and Flares. Those additions fit the same workflow: start with a toon base, then layer in edge treatment, lighting control, and surface accents where the shot needs them. In practice, the collection sits well in a Blender scene where toon styling, procedural control, and Cycles-first rendering all need to stay in the same material setup.\u003c/p\u003e\n\n\u003ch2\u003eRelated Resources Worth Checking\u003c/h2\u003e\n\u003cul\u003e\n\u003cli\u003e\u003ca href=\"https://3dcghub.com/command-box-addon-for-blender/\" title=\"Command Box Addon For Blender\"\u003eCommand Box Addon For Blender\u003c/a\u003e\u003c/li\u003e\n\u003cli\u003e\u003ca href=\"https://3dcghub.com/rbc-a-physics-based-vehicle-rigging-addon/\" title=\"Rbc | A Physics-Based Vehicle Rigging Addon\"\u003eRbc | A Physics-Based Vehicle Rigging Addon\u003c/a\u003e\u003c/li\u003e\n\u003cli\u003e\u003ca href=\"https://3dcghub.com/node-pie/\" title=\"Node Pie\"\u003eNode Pie\u003c/a\u003e\u003c/li\u003e\n\u003cli\u003e\u003ca href=\"https://3dcghub.com/lodmod/\" title=\"Lodmod\"\u003eLodmod\u003c/a\u003e\u003c/li\u003e\n\u003cli\u003e\u003ca href=\"https://3dcghub.com/auto-upscale-addon/\" title=\"Auto Upscale Addon\"\u003eAuto Upscale Addon\u003c/a\u003e\u003c/li\u003e\n\u003c/ul\u003e","contentTextLength":4017,"navigation":{"current":1789,"total":2579,"previous":{"id":"24690","slug":"real-time-fur-studio","title":"Real-Time Fur Studio","category":"Blender Add-ons \u0026 Plugins","platform":"Blender","updatedAt":"2026-04-20"},"next":{"id":"24720","slug":"modular-staircase-blueprint","title":"Modular Staircase Blueprint","category":"Gameplay Features","platform":"Unreal Engine","updatedAt":"2026-04-20"}},"relatedResources":[{"id":"21115","slug":"toon-industries","title":"Toon Industries","category":"Industrial","engine":"Original Unity version: 2019.4.0","assetVersion":"Original Unity version: 2019.4.0","engineVersion":"Asset Version:1.3.0","tag":"Industrial","accent":"amber","visual":"city","summary":"Toon Industries provides a library of 291 prefabs designed for stylized industrial environments. The collection ranges from modular railroad kits and heavy machinery to custom toon shaders compatible with modern Unity render pipelines.","platform":"Unity","updatedAt":"2026-04-19","sourceNotes":[],"fileContents":[],"compatibility":["Unity","Original Unity version: 2019.4.0","Asset Version: 1.3.0"],"featuredImage":{"alt":"Toon Industries","src":"https://3dcghub.com/wp-content/uploads/2026/03/330992fbb5b8_060bc5fd-ac84-447d-9257-00b54c7cd7b1_1280x720_stretch.webp"},"hasDownloadLink":true},{"id":"24158","slug":"flat-kit-toon-shading-and-water","title":"Flat Kit: Toon Shading and Water","category":"Shaders","engine":"Original Unity version: 2020.3.0","assetVersion":"Original Unity version: 2020.3.0","engineVersion":"Asset Version:4.9.2","tag":"Shaders","accent":"blue","visual":"animation","summary":"Flat Kit brings cel shading, stylized water, outlines, fog, pixelation, and terrain shading into a single Unity-focused setup. It also supports Built-in and URP workflows, with XR, mobile, WebGL, and console coverage stated for the package.","platform":"Unity","updatedAt":"2026-04-19","sourceNotes":[],"fileContents":[],"compatibility":["Unity","Original Unity version: 2020.3.0","Asset Version: 4.9.2"],"featuredImage":{"alt":"Flat Kit: Toon Shading and Water","src":"https://3dcghub.com/wp-content/uploads/2026/04/2dd8adfba05b_5dbcd94d-8661-443e-bbe6-8df8069d47f8_1280x720_stretch.webp"},"hasDownloadLink":true},{"id":"24353","slug":"realtoon-pro-anime-toon-shader","title":"RealToon (Pro Anime/Toon Shader)","category":"Shaders","engine":"Original Unity version: 5.6.0","assetVersion":"Original Unity version: 5.6.0","engineVersion":"Asset Version:5.0.10","tag":"Shaders","accent":"blue","visual":"animation","summary":"RealToon brings anime and cartoon shading into Unity scenes that need a clean stylized look for characters and objects. It spans Built-In, URP, and HDRP support, while adding controls for outlines, shadows, rim light, and other toon-specific surface effects.","platform":"Unity","updatedAt":"2026-04-20","sourceNotes":[],"fileContents":[],"compatibility":["Unity","Original Unity version: 5.6.0","Asset Version: 5.0.10"],"featuredImage":{"alt":"RealToon (Pro Anime/Toon Shader)","src":"https://3dcghub.com/wp-content/uploads/2026/04/9d4a38f87daa_63cc8a88-dc6c-442e-bda6-950a8054a774_1280x720_stretch.webp"},"hasDownloadLink":true}]}
Blender Add
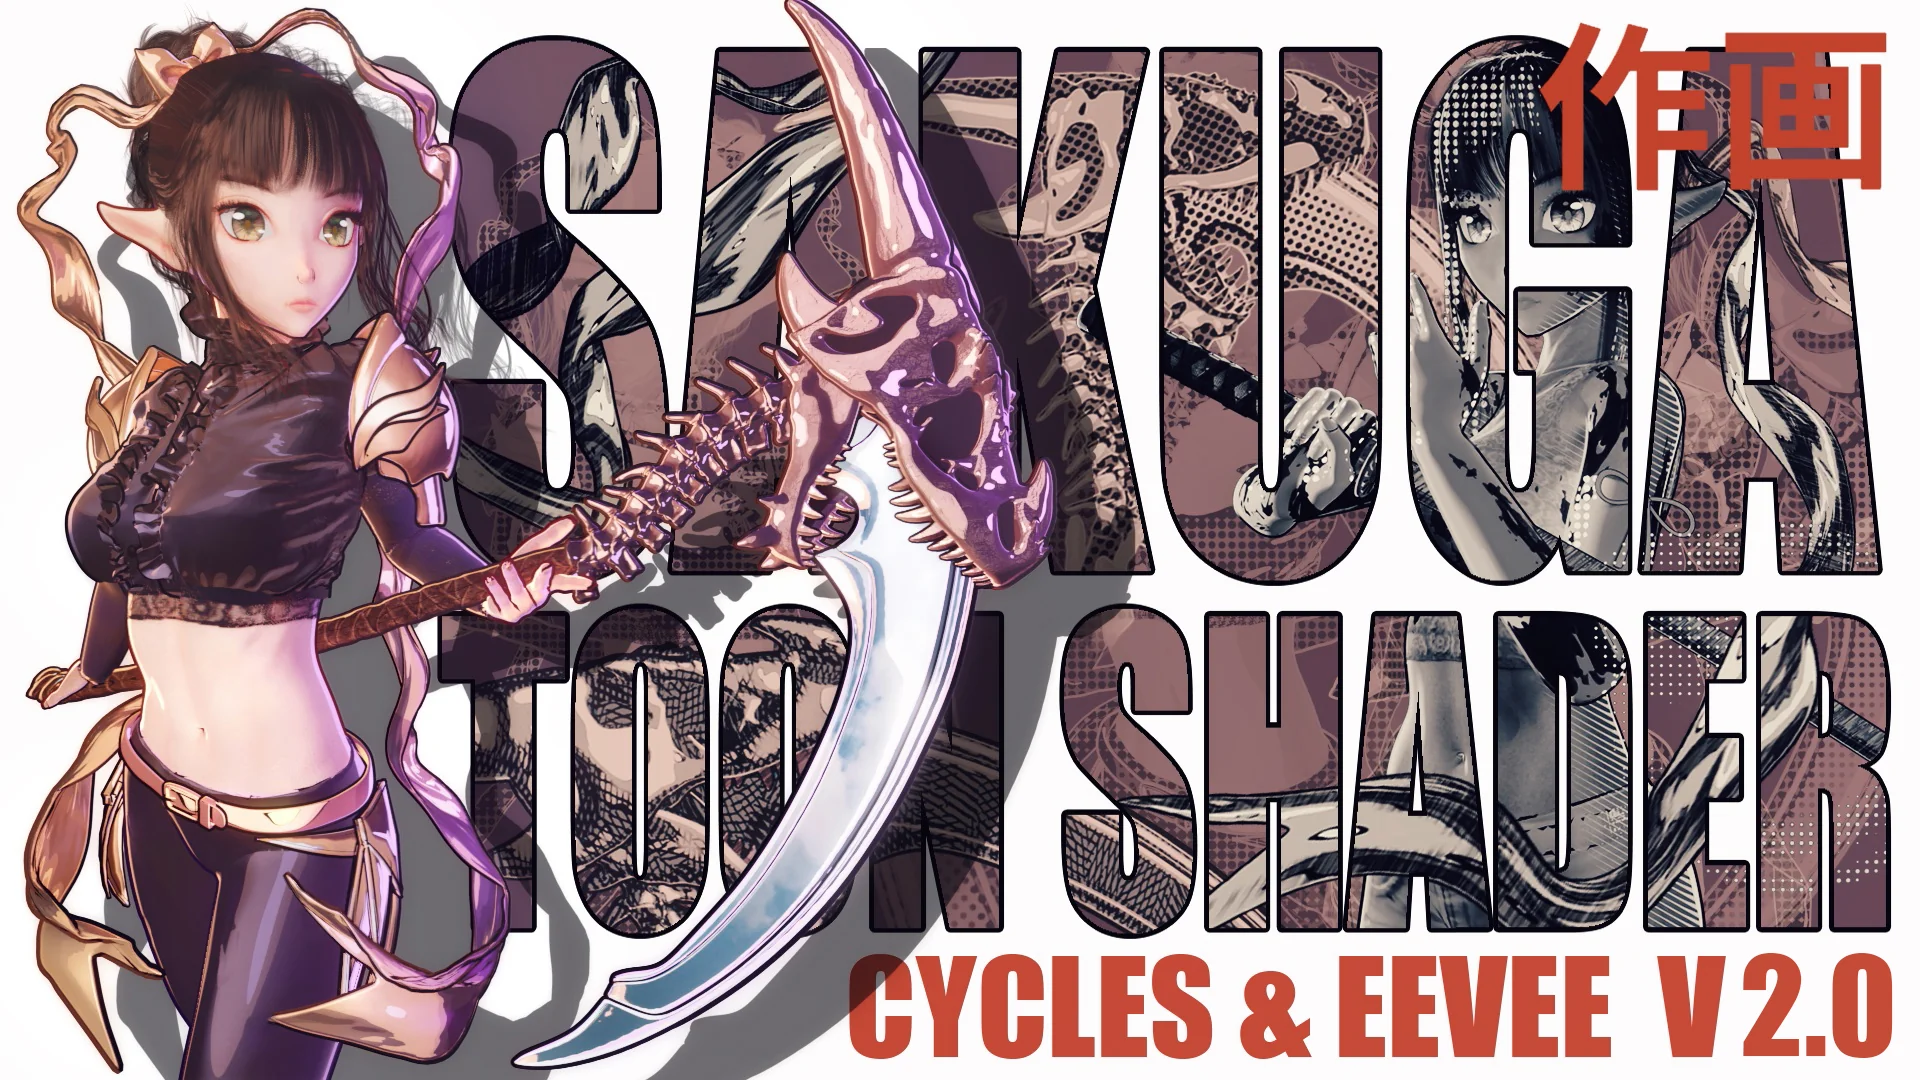
Sakuga Toon Shader Cycles & Eevee
Sakuga Toon Shader Cycles & Eevee brings a procedural toon-shading workflow to Blender models without UV mapping. It combines Metallic and Point Light lighting modes with rimlights, outlines, paint textures, flares, and a monkey demo scene for testing the s...
Platform: BlenderEngine: Version details listedUpdated 2026-04-20
Blender Add
Resource overview
Sakuga Toon Shader Cycles & Eevee gives Blender a toon-shading workflow that skips UV mapping and stays procedural. The shader can be dropped onto a 3D model, then adjusted through lighting and shader controls, with support for both Cycles GPU rendering and Eevee.
Place the shader on the model, then shape the lighting
The setup is direct: apply the shader, adjust the lighting, and tune the result to fit the model. No UV mapping is needed, which keeps the process centered on shading rather than texture preparation.
That keeps the collection easy to work into an existing scene. The main controls stay inside Blenderâs material setup, and the shader behavior remains procedural instead of depending on baked texture steps. For toon work, that means the look can be steered through the node setup and the light arrangement rather than through separate UV work.
Choose between Metallic and Point Light behavior
Each shader includes two lighting variations. Metallic Lighting follows the camera when the object or camera moves, creating a glossy metallic look. Point Light follows a designated object you select, giving the standard toon-shader lighting behavior.
The two modes serve different kinds of shots. Metallic keeps the highlight response linked to camera movement, while Point Light holds the lighting relationship to a chosen object. The collection also includes a deconstructed version for better customization, which gives more room to adjust the shader structure instead of relying only on the finished look.
Layer in rims, outlines, paint textures, and flares
The shader set goes beyond the base toon surface. Rimlights and outlines can push the silhouette, while additional lighting options shape the surface response. Paint textures, shader masks, and flares add more control over the final look, and the included monkey demo scene gives a ready setup for checking how the pieces behave together.
The package includes 4 rimlights, 10 outlines, 3 different paint textures, 17 flares, and 3 shader masks. Lineart for Shader Editor is included for Cycles, which adds another tool for edge treatment in that render path. The collection also presents multiple shader styles with different lighting variations, so the same material family can move toward different toon directions without rebuilding the setup from scratch.
Keep Cycles settings in mind before rendering
The development focus is primarily on Cycles, and the practical limitations matter when the shader is used in production. GPU rendering in Cycles is not supported with OptiX, so Cycles Render Devices needs to be set to "None" to enable GPU rendering. That detail shapes how the shader should be prepared before a final render.
Eevee support is present, but some features do not behave as expected there. One example is that the shaders currently cannot receive cast shadow from other objects. That makes Cycles the safer place to validate shading behavior first, especially when the shot depends on shadow response or on the way the lighting reacts to motion.
Updates added shadow catching and new shader pieces
Version 2.0 added shadow catching. With the Blender 3.5 update, the shaders also integrate OSL scripts, which brings GPU rendering with Cycles into the workflow and opens up more room for experimentation. The update also added a Lineart Shader for Shader Editor, Light Decay, Impact Shader, Paint Shader 1, and Paint Shader 2.
Version 1.1 added Caustic Shader, Nebula Shader, Point Light Mask, Edge Mask, and Flares. Those additions fit the same workflow: start with a toon base, then layer in edge treatment, lighting control, and surface accents where the shot needs them. In practice, the collection sits well in a Blender scene where toon styling, procedural control, and Cycles-first rendering all need to stay in the same material setup.
 Blender Add
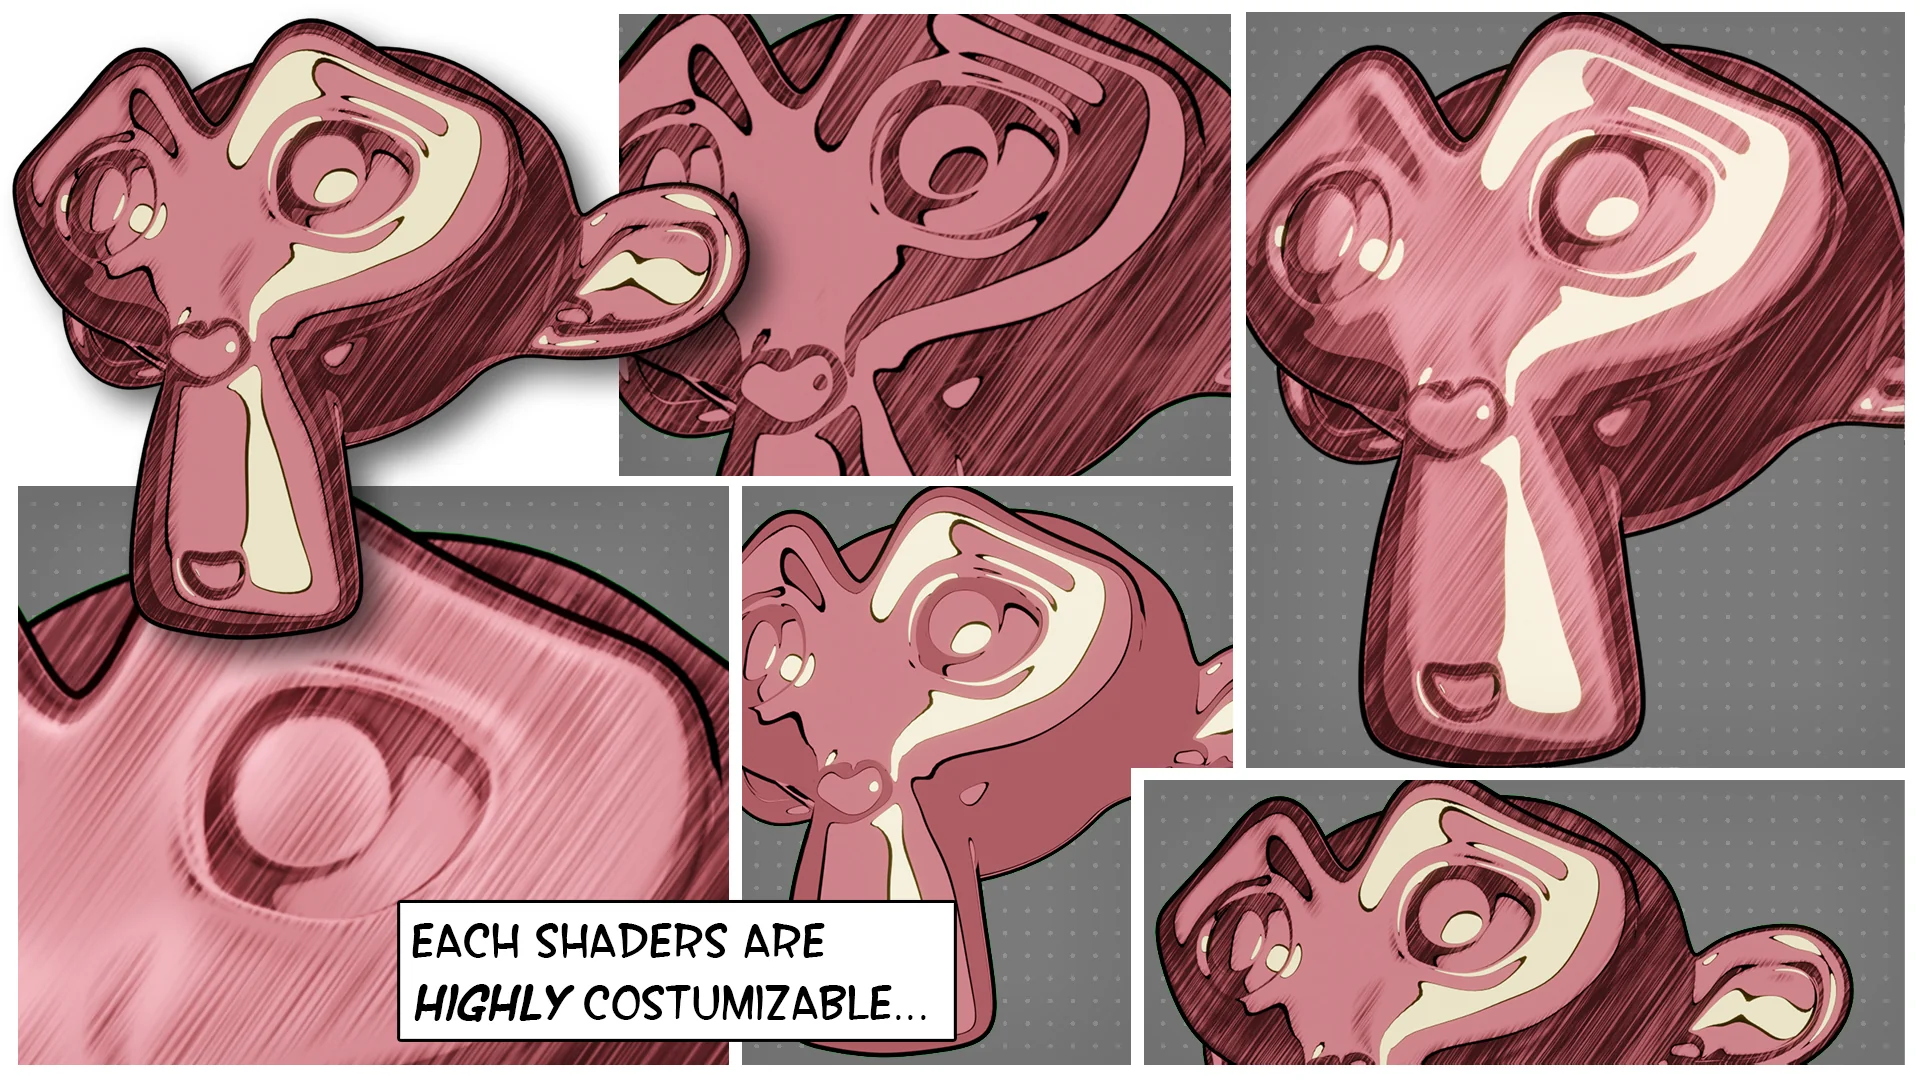
 Industrial
 Shaders
 Shaders