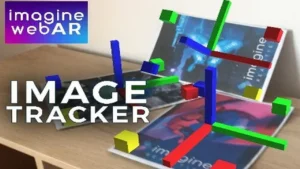
Automating Scene Transitions in Unity
Transition Blocks is a system designed to simplify the process of moving between different scenes in a Unity project. Rather than manually scripting complex fades or UI overlays for every level change, the package utilizes a prefab-based approach. By placing a specific prefab into the initial scene and utilizing a single line of code, developers can trigger a transition to a target scene by name. This setup handles the underlying logic of the transition, allowing for a more streamlined production workflow when moving players between game environments.
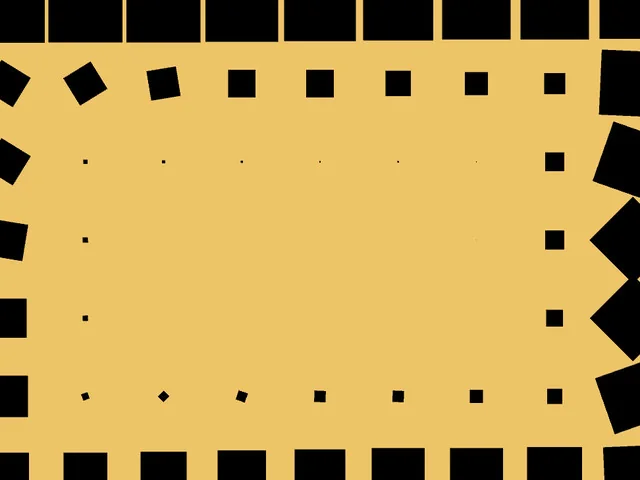
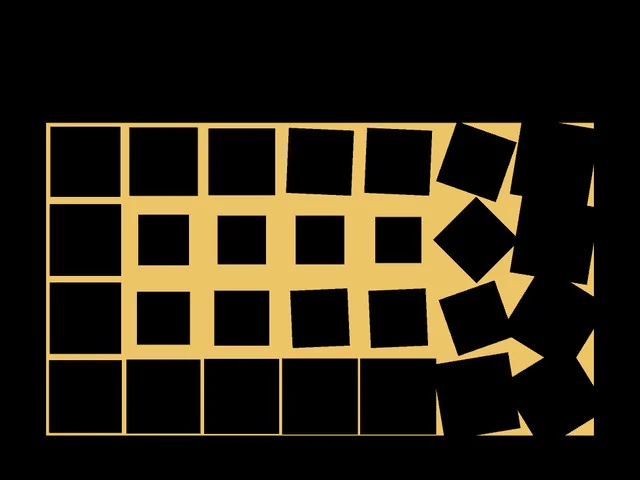
The system is built around two distinct components: the transition block and the transition order. These two elements work in tandem to define the visual style and timing of the scene change. A transition block contains the specific animation data, determining how an individual unit behaves once it is instantiated. The transition order serves as the logic layer, dictating the spatial placement of these blocks across the screen over a user-defined time period. This modularity allows for various visual combinations by swapping out how blocks are arranged or how they animate individually.
Technical Handling of Camera and Resolution
One of the primary functions of Transition Blocks is its automated handling of screen space and camera parameters. The asset is built to recognize the current screen resolution and size the transition elements accordingly, ensuring that the visual effect covers the entire viewport regardless of the display settings. This automation extends to camera types, as the system is compatible with both perspective and orthographic configurations.
During a transition, the blocks are programmed to follow the main camera’s position and rotation. This ensures that even if a camera is in motion or rotating during the moment a transition is triggered, the blocks remain centered and aligned with the player’s view. For projects utilizing orthographic cameras, the system also monitors the camera size; if the size changes, the transition blocks resize dynamically to maintain full coverage. To ensure the transition remains visible over game world objects, the developer has configured the sprites to utilize the front-most sorting layer and the highest sorting order, effectively masking all other elements within the camera’s view.
Workflow Integration and UI Considerations
For developers who utilize visual scripting, the package includes dedicated actions for PlayMaker. These actions are located under the “level” category, allowing scene changes to be managed without writing custom C# scripts, though the asset functions independently of PlayMaker for those using standard coding workflows. Recent updates to the system have also introduced utility functions such as CanTransition, which allows the engine to check if a transition is currently in progress, and the OnTransitionComplete event, which provides a hook for triggering logic immediately after a transition finishes.
When integrating this tool into a project with complex UI, there are specific rendering behaviors to consider. The transition blocks are instantiated as individual game objects. While they are designed to cover the camera’s view, they cannot render above a UI Canvas set to Screen Space – Overlay. However, the system is fully compatible with canvases set to Screen Space – Camera. This distinction is critical for developers who need their transitions to mask UI elements during a scene swap.
Constraints and Specific Use Cases
While the system handles various camera movements and types, it is designed to operate on a single camera at a time. This makes it suitable for single-player experiences or games with a shared screen, but it will not function as intended in split-screen multiplayer environments where multiple cameras are rendering to different portions of the screen simultaneously. Additionally, since each block in the transition is its own game object, the density and complexity of the transition order can impact the total object count during the transition phase.
The flexibility of the system has been refined through various updates, including a fix for diamond-patterned transition orders that previously encountered issues on screens where the height exceeded the width. Developers also have the option to specify which camera the transition should occur on, providing control in scenes that may contain secondary or auxiliary cameras. This ensures that the visual hand-off between levels remains consistent across different hardware configurations and aspect ratios.
Project Screenshots


Protected download
Access this resource
All resources are 100% manually reviewed to eliminate all risks.