Bright scattering for scenes that need more than a standard bloom
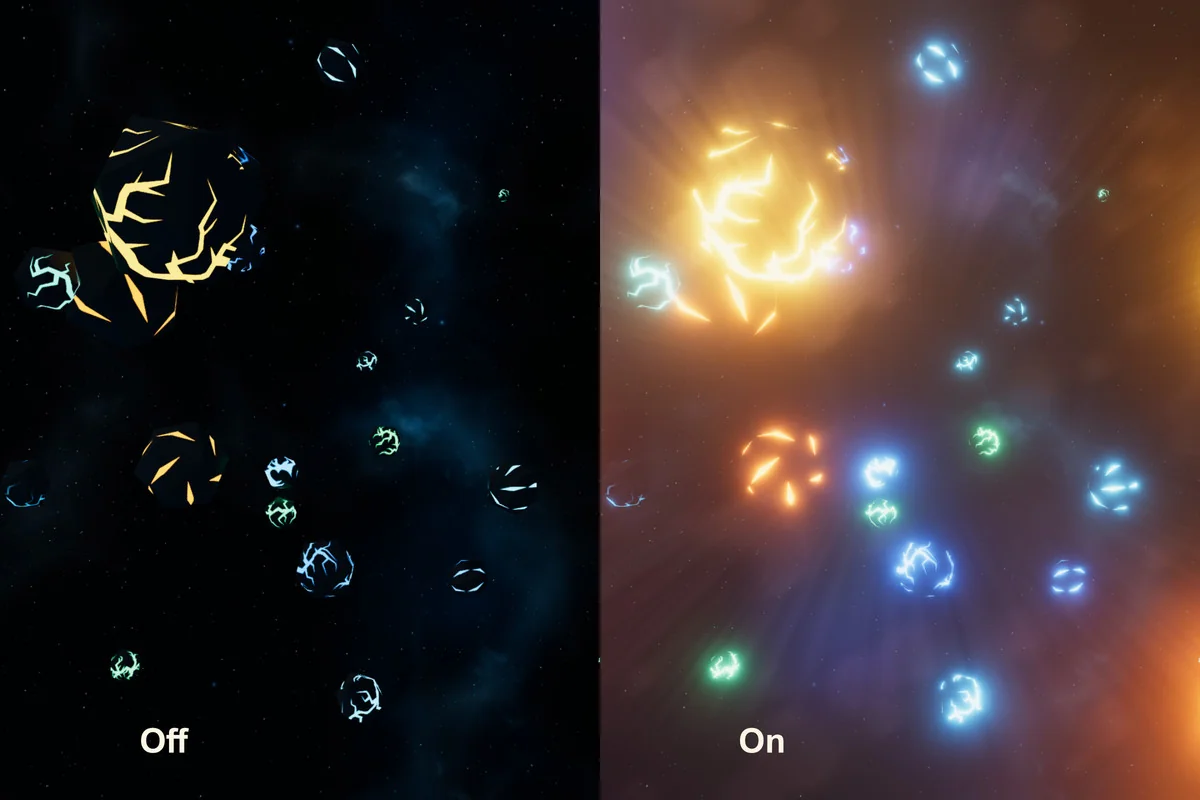
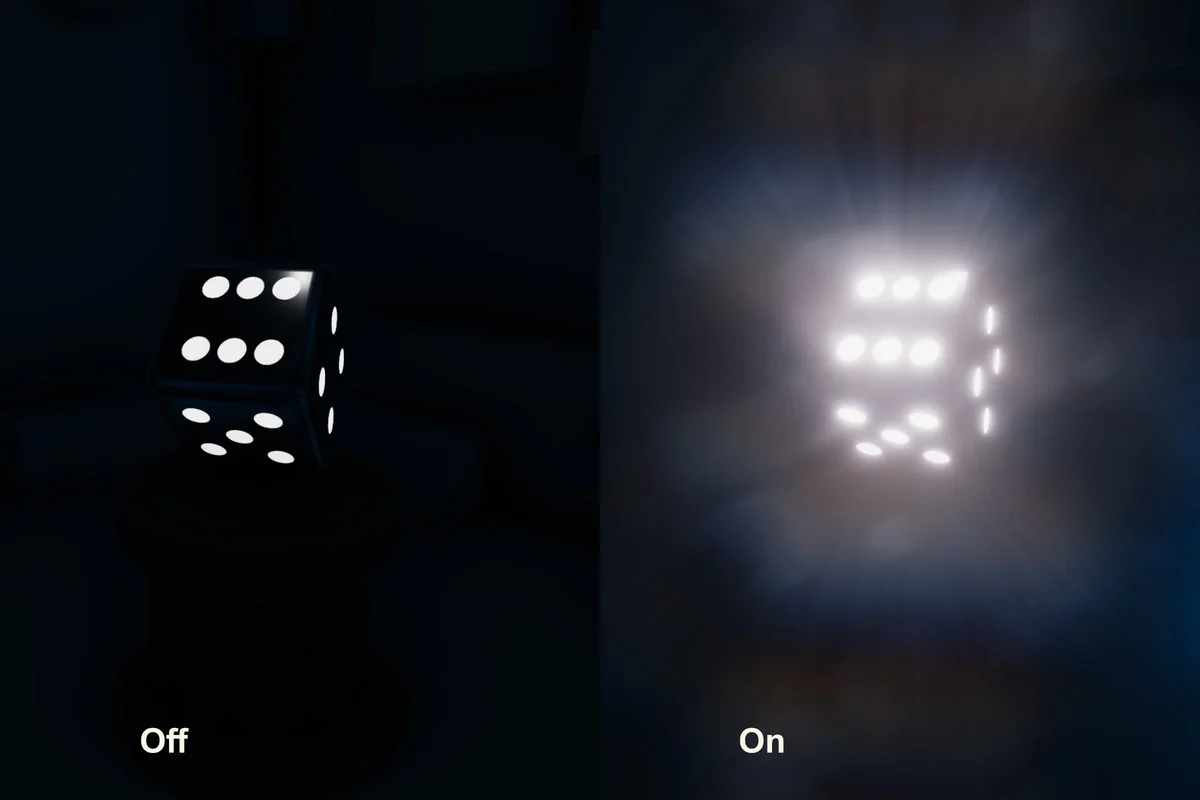
MK Glow focuses on the way bright areas spread light across a scene. It simulates bright surface light scattering and turns that into a glow that can read as subtle highlight work or as a more dramatic lighting accent. The result is a stylized glow with enough control to move away from the usual default post-processing bloom look.
The workflow is aimed at artists and keeps the effect approachable while still leaving room for adjustment. That makes it practical for scenes where the glow itself is part of the visual identity, not just a finishing pass added at the end. MK Glow is presented as a high-performance, feature-rich post-processing effect, so the emphasis stays on shaping the look without making the setup feel rigid.
It also fits a simple creative need: a scene can look bright without becoming flat. Instead of treating glow as one fixed response, MK Glow gives room to shape how the effect appears and how far it spreads from the bright parts of the image.
Bloom, lens surface, flare, and glare in one effect
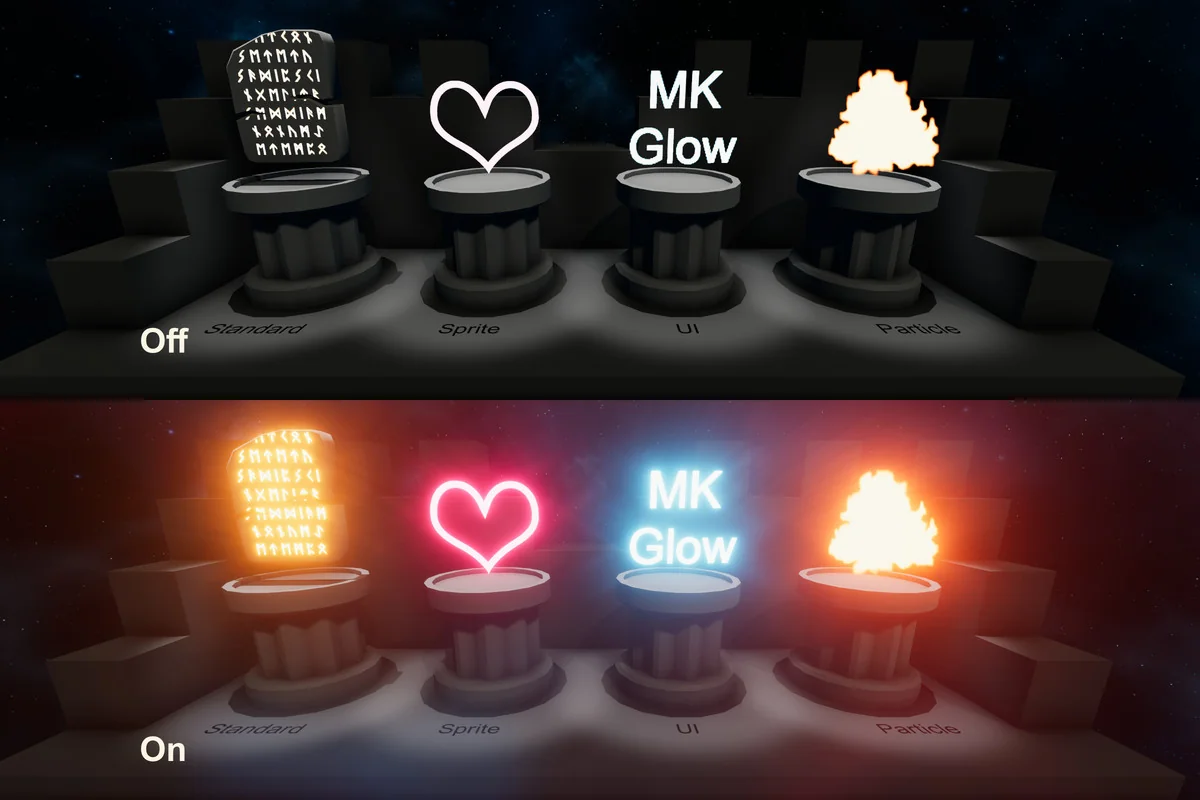
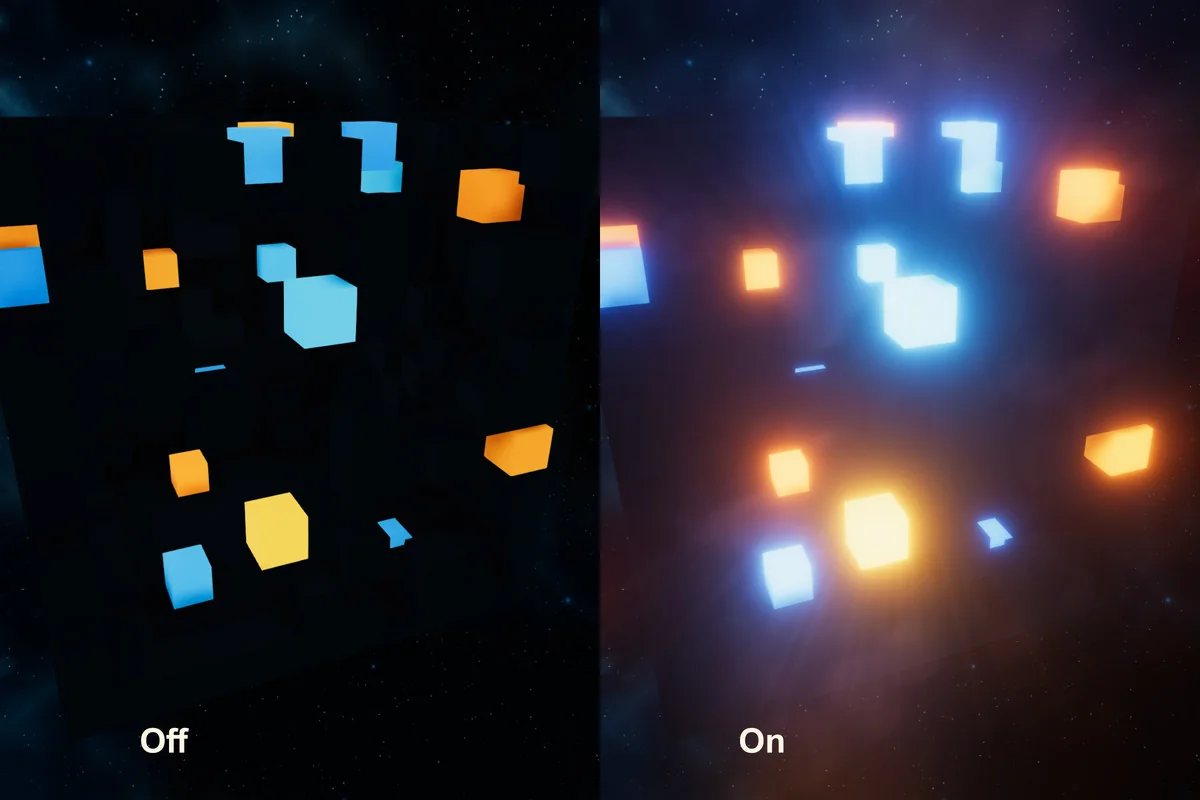
The bloom effect is the core of MK Glow. It creates fringes of light extending from the borders of bright areas in an image, which is the part most people will notice first. Around that base, the package adds highly customizable extras that push the look further: lens surface, lens flare, and glare.
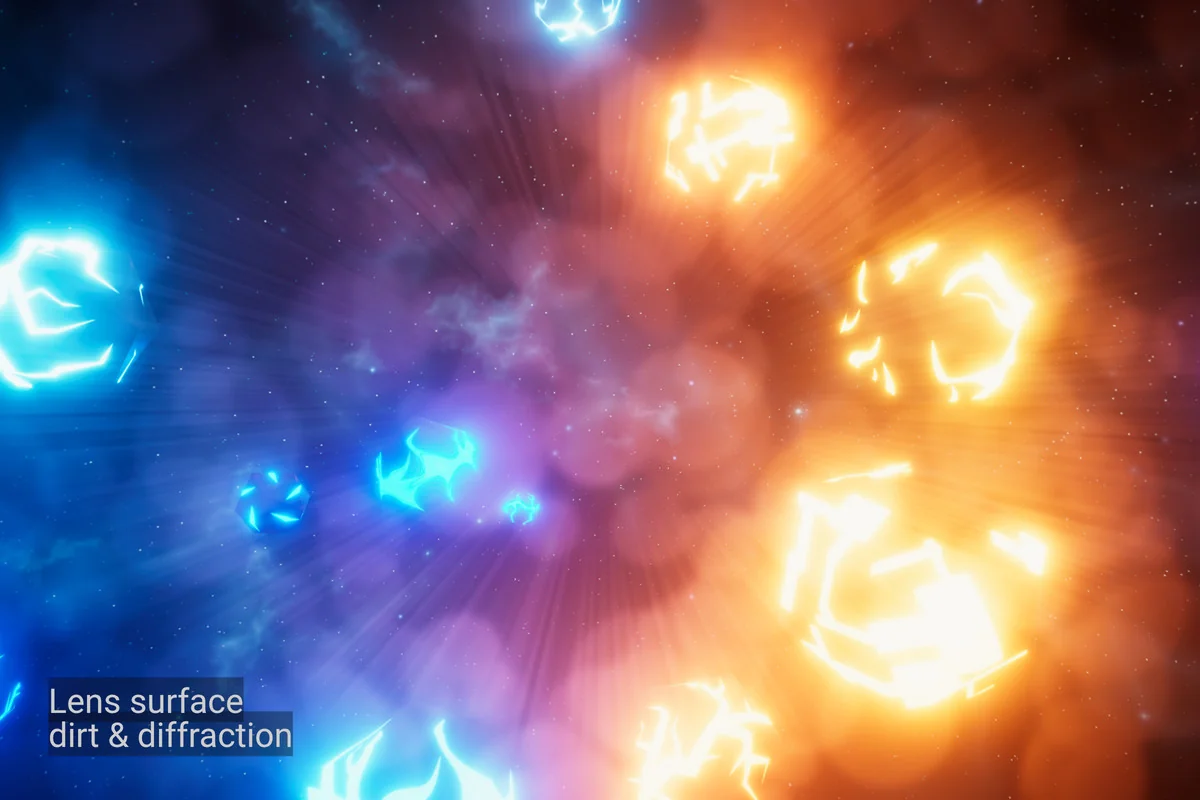
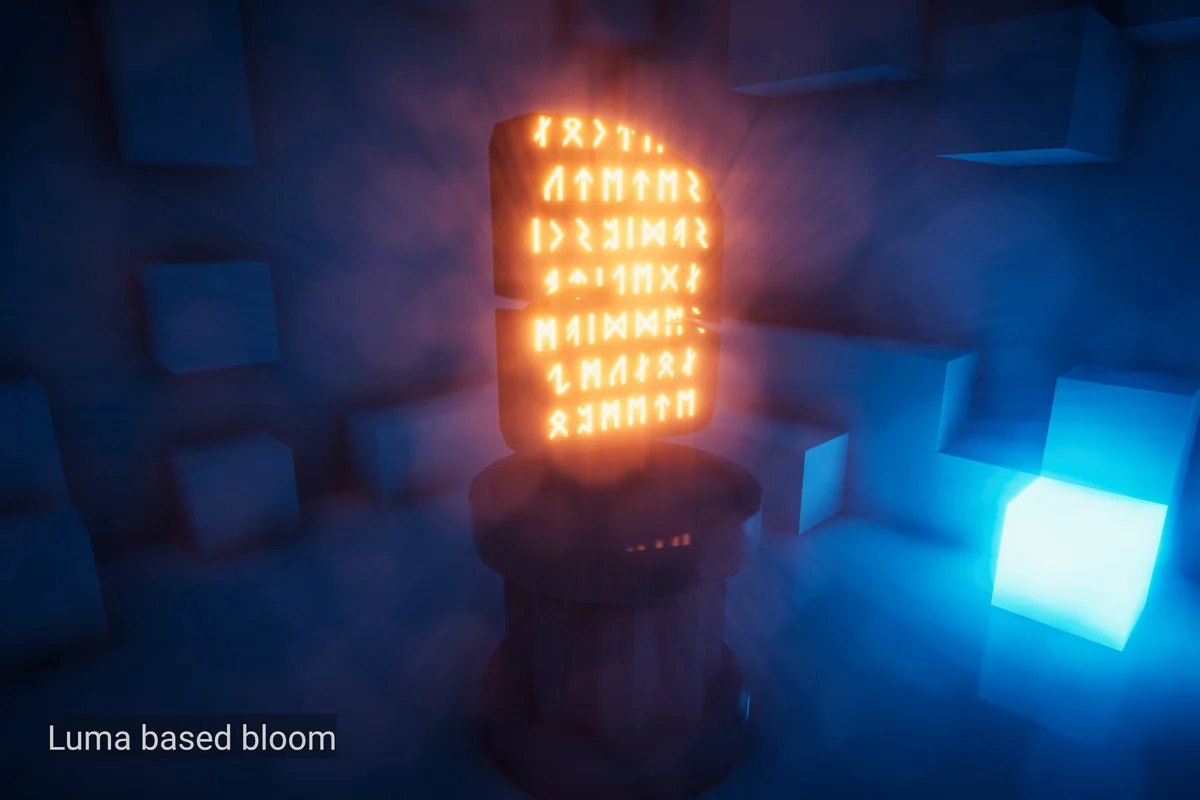
Luma Scale mixes relative luminance into the glow for a result that can lean more stylized or more realistic. That gives another layer of control over how brightness translates into visible glow. When the scene needs extra texture, lens surface can apply a dirt and diffraction texture that fades into the glow. It adds a more physical-feeling layer on top of the bright scattering effect.
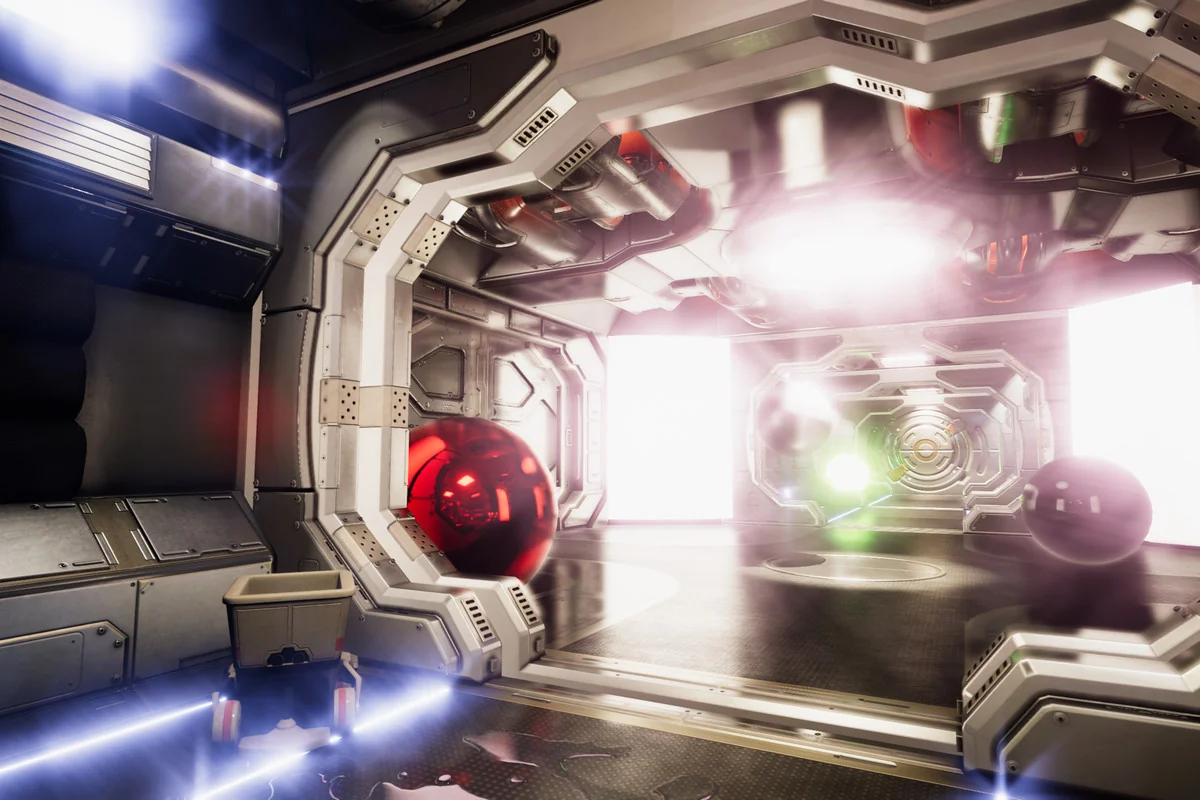
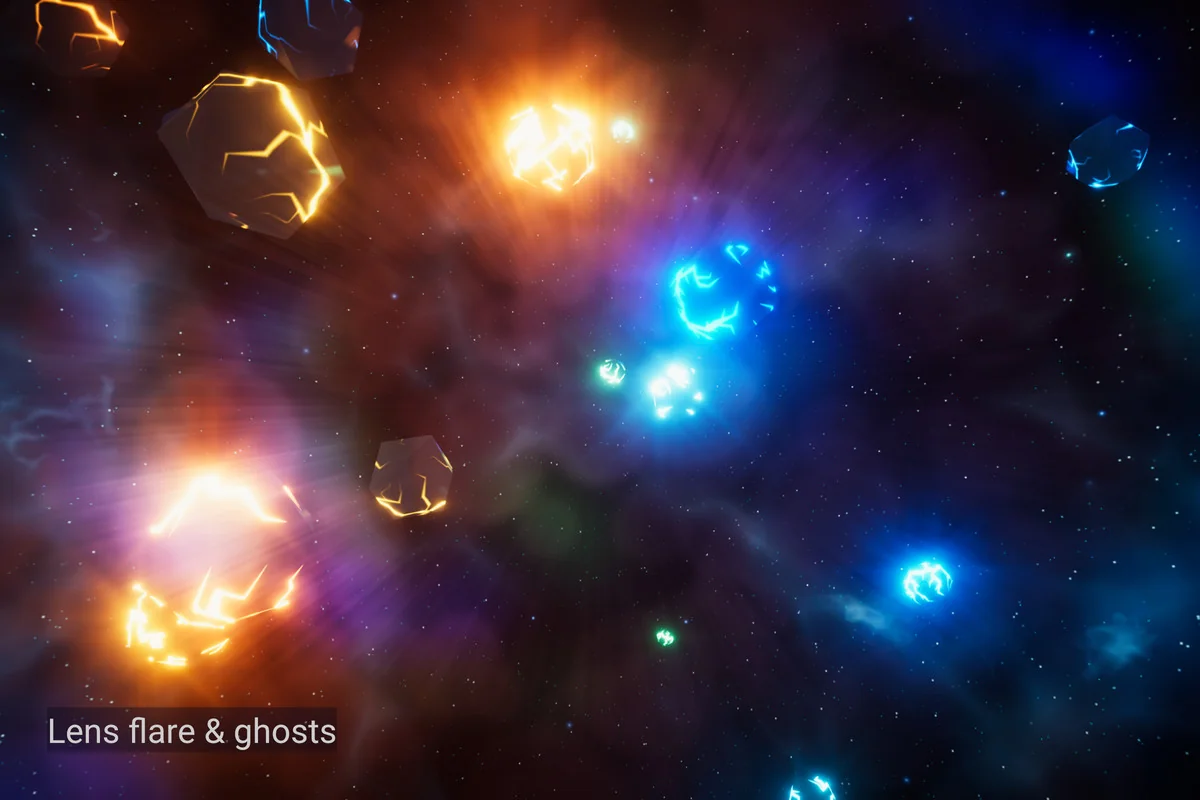
Lens flare is handled procedurally and includes halo, ghosts, and presets. Glare works in a different direction, creating glare light streaks that fade into the glow based on blending, with presets available there as well. Each part serves a different visual role, so the final result can stay restrained or become much more pronounced depending on how the controls are used.
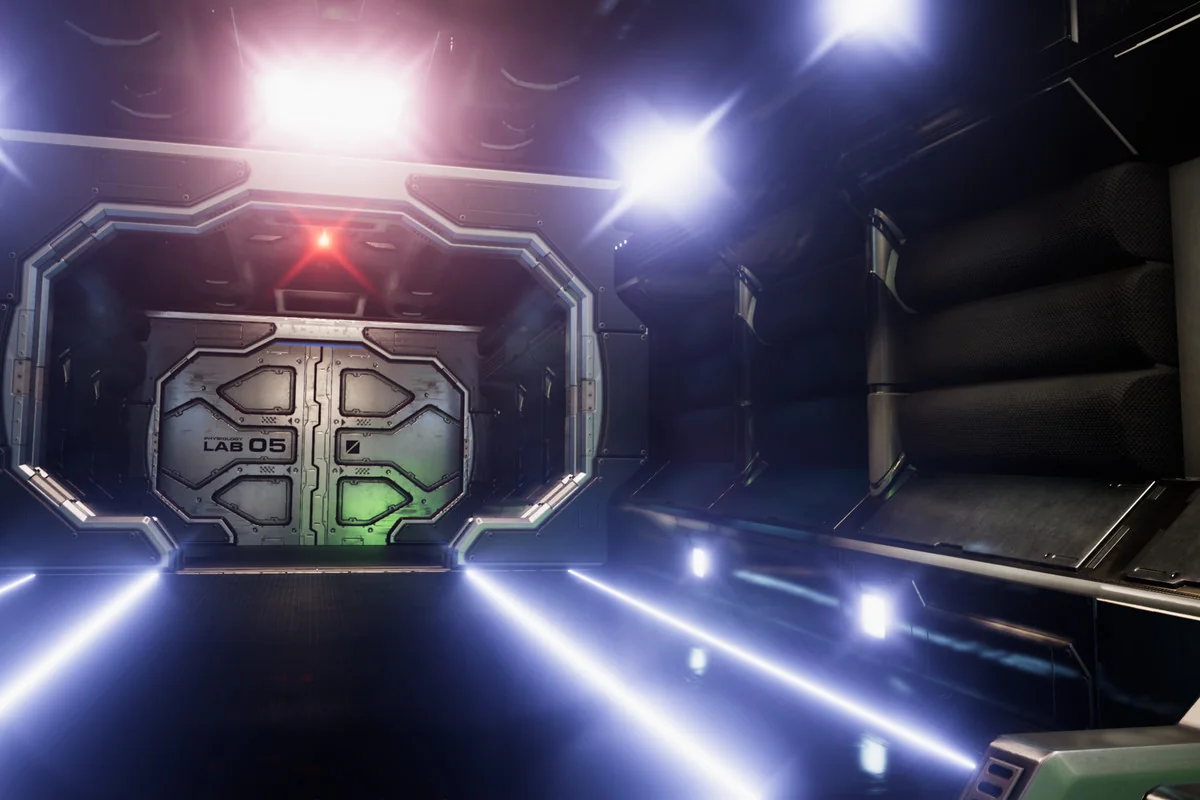
MK Glow also supports both 2D and 3D. No matter the scene setup, including projection and geometry, it is able to sustain the visual appearance. That makes it easier to keep the glow style consistent across different kinds of project layouts instead of treating one scene type as a special case.
Two ways to drive the glow
MK Glow includes two intuitive workflows: Threshold and Natural. They take different routes to the same general goal, which is to decide how bright areas become visible glow in the scene.
Threshold makes things glow based on pixel brightness, threshold, and emission. It is a more stylized approach and gives a clear cutoff for what gets picked up by the effect. That can work well when the goal is a very specific glowing look and the bright regions need to be separated from the rest of the image.
Natural takes a different path. It uses no color cutoff and no thresholding, which makes it behave more like real life. The effect is described as energy-conserving, and the setup is as simple as raising the emission of the materials. For scenes that need a realistic response to brightness, this is the more direct route.
Having both options matters because the same glow system can be used for different kinds of visuals. One workflow pushes toward strong stylization, while the other stays closer to a natural response. That gives the effect a wider range without changing the basic job it performs.
Styling without losing control over performance
MK Glow is set up to balance high visual quality with efficient performance. Advanced optimization techniques are used to minimize resource consumption while still delivering a high level of quality. That balance is important for projects that need a distinct glow effect but still want to keep the post-processing pass under control.
The customization side is broad. Stylization options allow the result to be fine-tuned in terms of quality and performance using a wide variety of controls. Blooming can further enhance the glowing parts, which gives the scene more emphasis where brightness is already present. Rather than forcing every scene into the same response, the effect leaves room to adjust the look toward the needs of the project.
This is also where MK Glow stays practical for a range of scene types. It is able to fit into any kind of scene and can be tweaked precisely toward the result needed. That flexibility is useful when the same glow system has to support different art directions without changing tools.
When the glow itself needs to stand out
MK Glow is a strong match for projects that want a unique glow shader with a lot of visual control. It is especially relevant when bright highlights, emission, and light streaks need to feel deliberate rather than generic. The combination of bloom, lens surface, lens flare, and glare gives the effect a layered response that can be kept subtle or pushed into a more dramatic style.
Artists working in Unity scenes will get the most from it when the goal is to shape the look of bright areas instead of relying on a standard bloom pass. The effect supports both 2D and 3D setups, offers two different workflows, and keeps room for stylization as well as more realistic behavior. For projects that need a glow style with clear direction, that combination is the main reason MK Glow stands out.
Project Screenshots

Protected download
Access this resource
All resources are 100% manually reviewed to eliminate all risks.