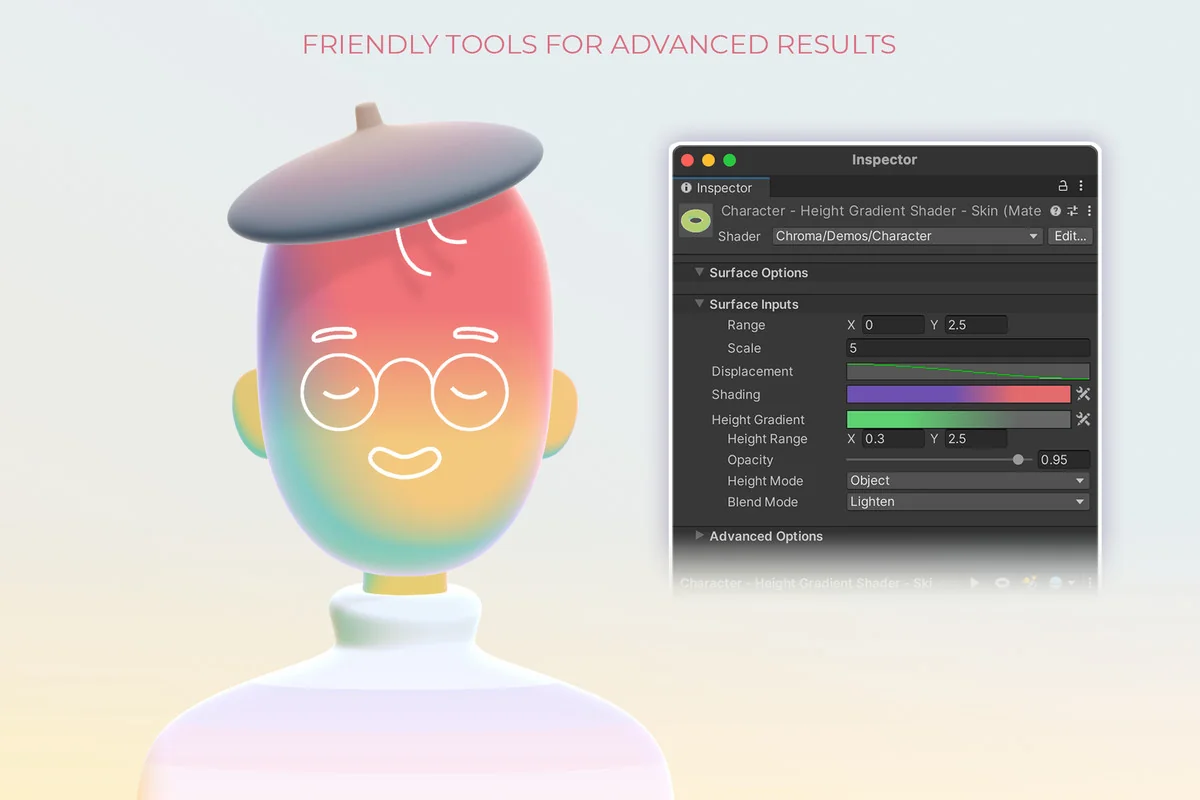
Set up shader UIs without fighting the default inspector
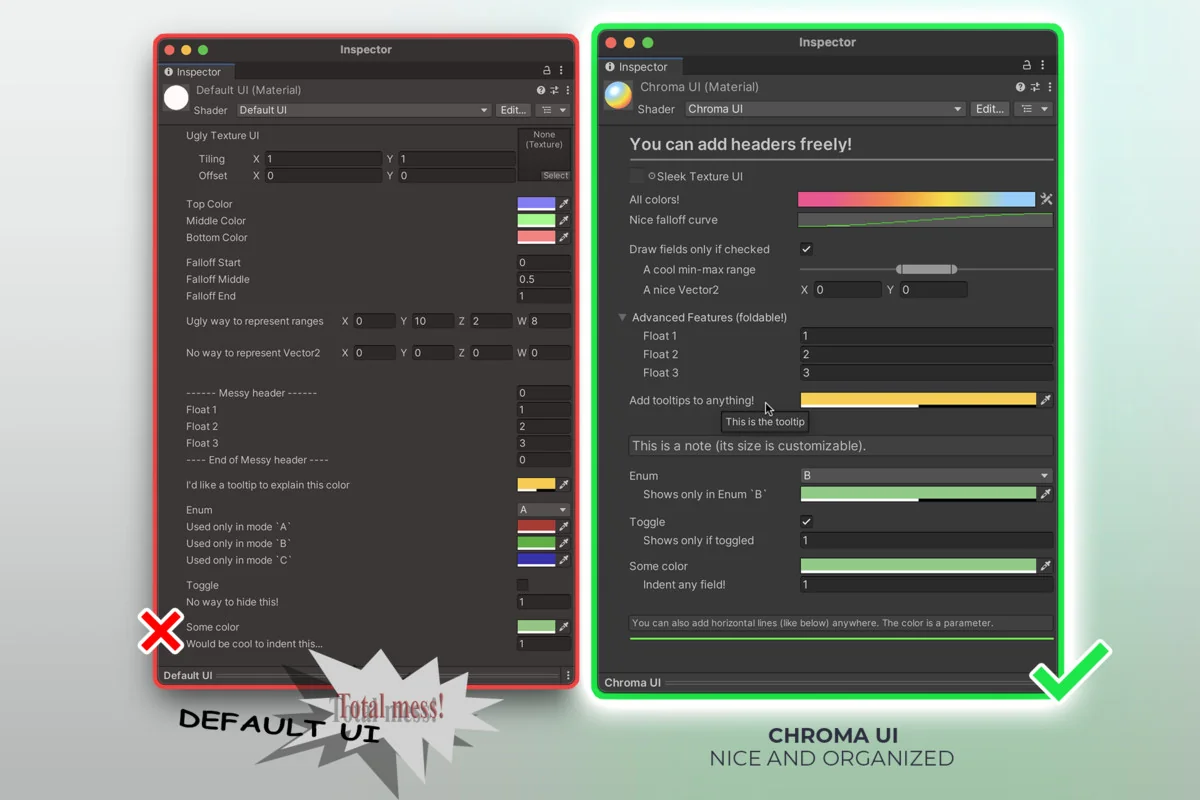
Chroma starts where a lot of shader work becomes awkward: the Material Inspector. The default layout is rigid, and that makes it difficult to add notes, group related parameters, or present a shader in a way that is easier to read. Chroma adds that missing layer of structure so shader UIs can be organized with notes, foldouts, separators, conditions, and more.
The setup is meant to stay light. It can be used in Shader Graph and in hand-written shaders, and the workflow is described as quick to set up, even in a matter of minutes. That matters when the goal is not to rebuild an entire shader system, but to improve how its controls are presented. You decide which shaders use Chroma, so it can sit beside an existing workflow instead of forcing everything into one pattern.
That flexibility makes it useful in both early experiments and more settled projects. A shader that starts as a rough prototype can be given a cleaner inspector without changing the basic way the shader is authored. A more mature material setup can be made easier to navigate by splitting controls into readable groups and adding guidance where the parameters need it.
Use the inspector controls to keep parameters readable
Chromaâs custom attributes focus on the small details that make a material inspector easier to scan. The available controls include headers, foldouts, notes, tooltips, separators, tabulation, conditional display and hide, one-line textures, min-max ranges, gradients, curves, and full attribute documentation.
Those controls solve very specific layout problems. Headers and separators help divide a long list of parameters into sections. Foldouts keep related settings together instead of leaving them spread across a single flat view. Notes and tooltips make room for short reminders directly beside the controls they explain. Conditional display and hide can reduce clutter when a value only matters in certain cases. One-line textures and min-max ranges help keep inputs compact and easier to compare at a glance.
The overall effect is not about decoration for its own sake. It is about making a shader easier to edit after the first pass is done. When multiple people touch the same material setup, the inspector becomes part of the working surface. Clear grouping and visible cues can make a shader feel less like a block of parameters and more like a structured tool.
- Headers
- Foldouts
- Notes
- Tooltips
- Separators
- Tabulation
- Conditional display and hide
- One-line textures
- Min-max ranges
- Gradients
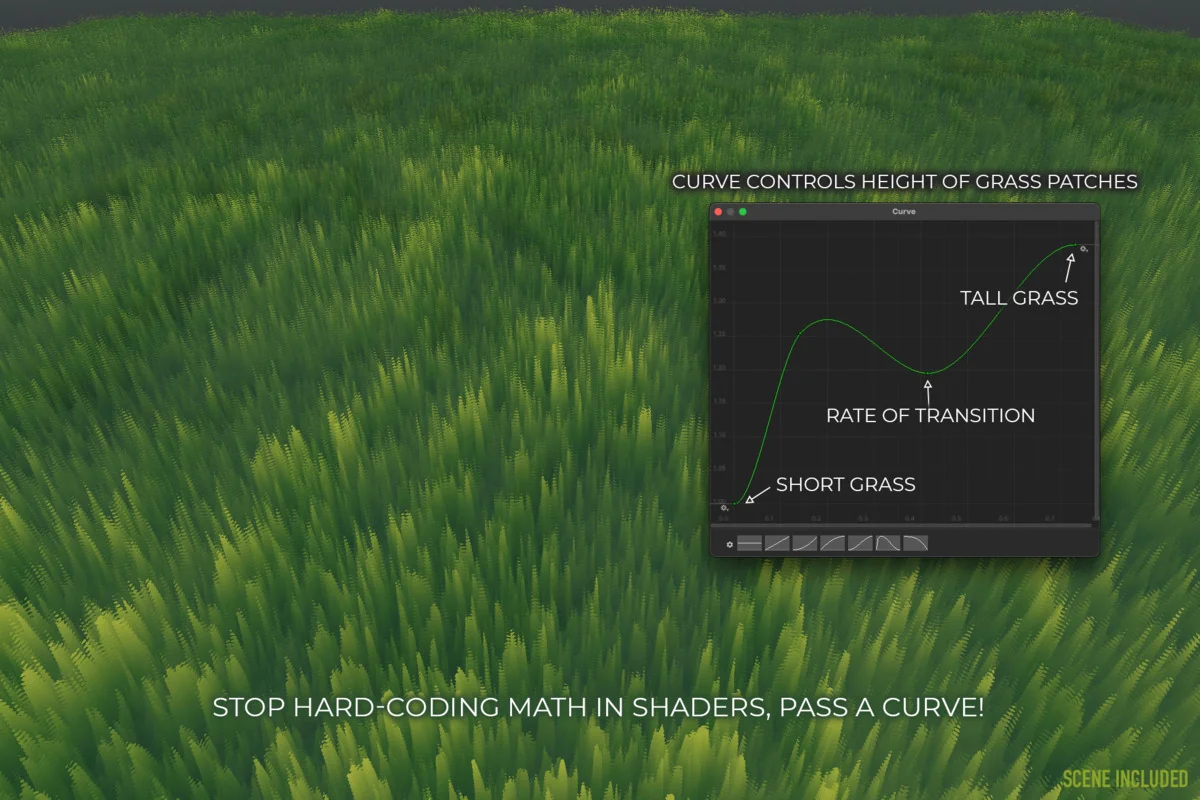
- Curves
Full attribute documentation is included as part of the workflow, which is especially relevant when the inspector layout needs to stay readable over time.
Add gradients and curves as shader parameters
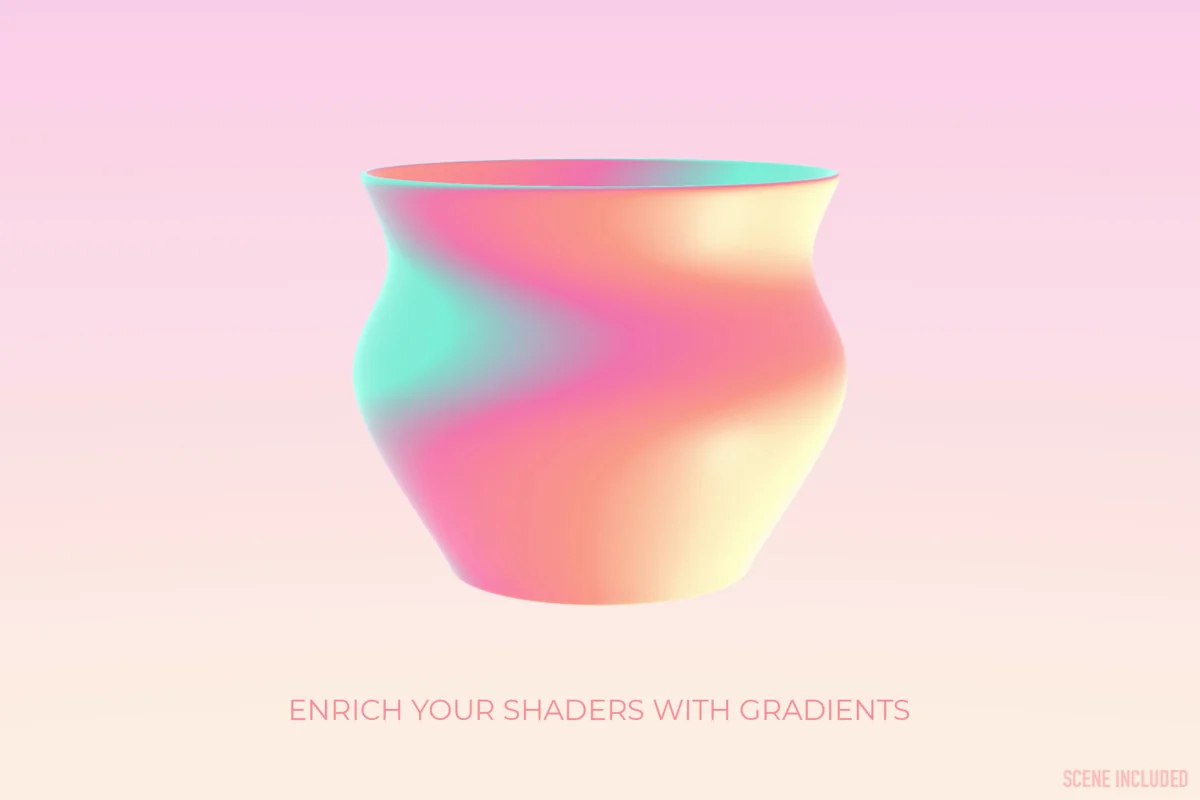
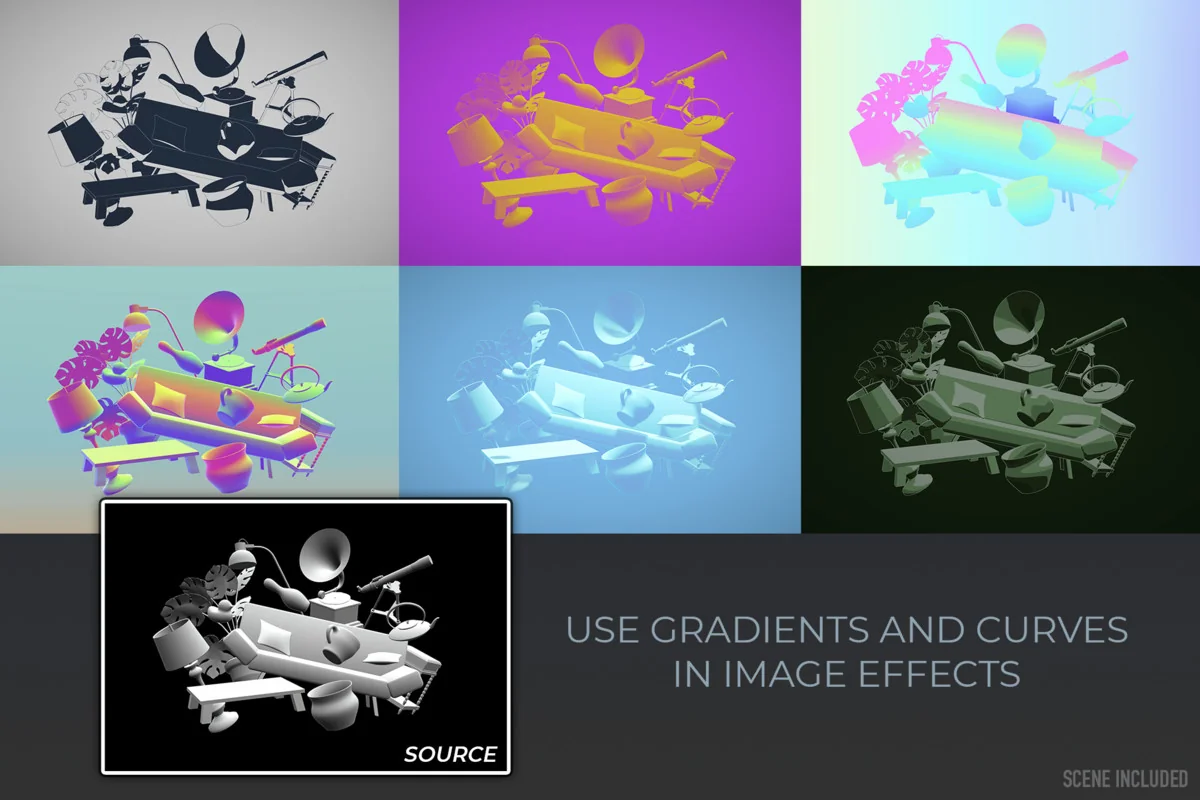
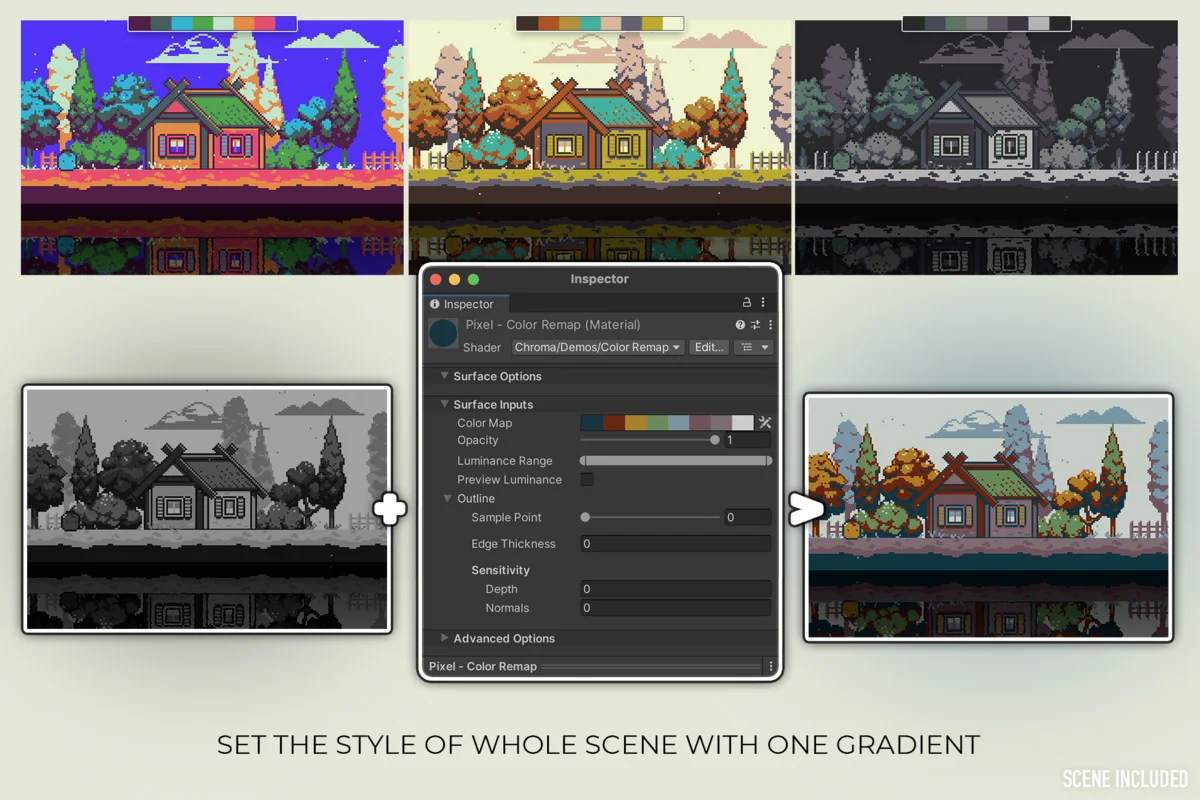
Chroma extends shader input beyond the default numbers, vectors, and textures that Unity can pass to shaders. With Chroma, gradients and curves can also be used as shader parameters. That opens up a different layer of control, especially when a shader needs more than a single color or a few numeric values.
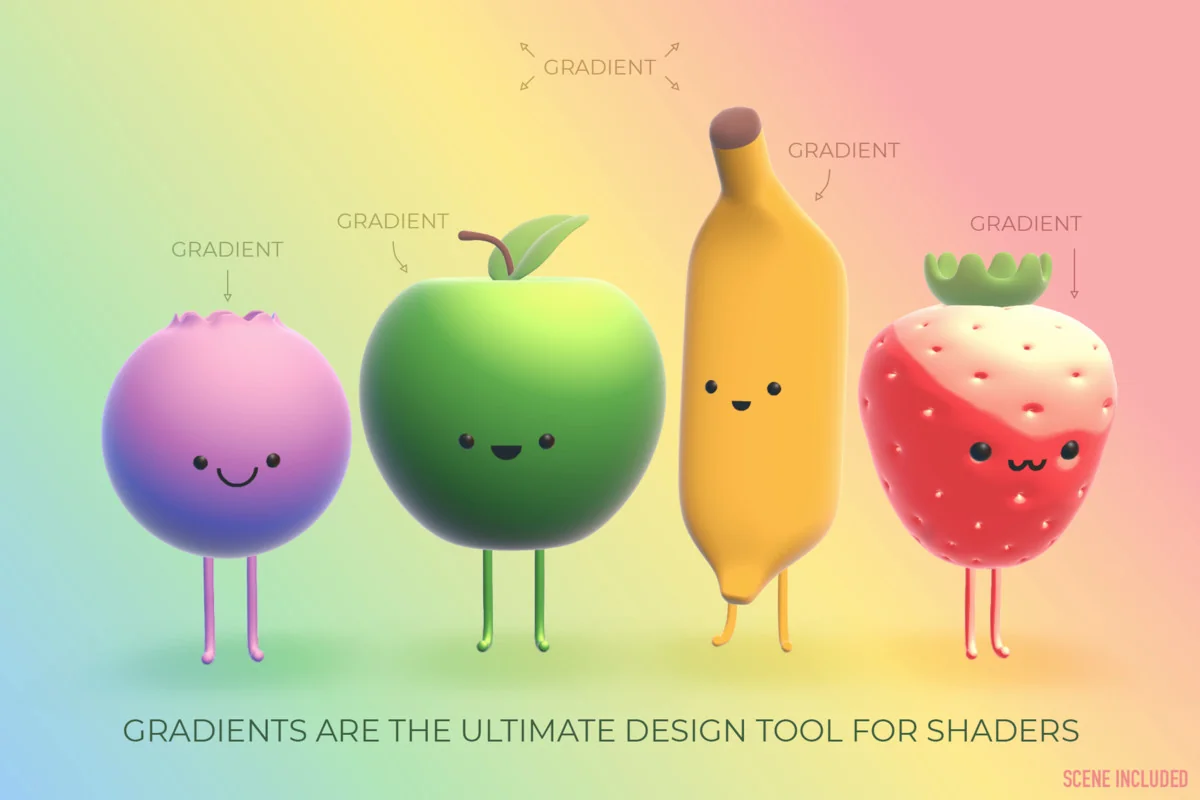
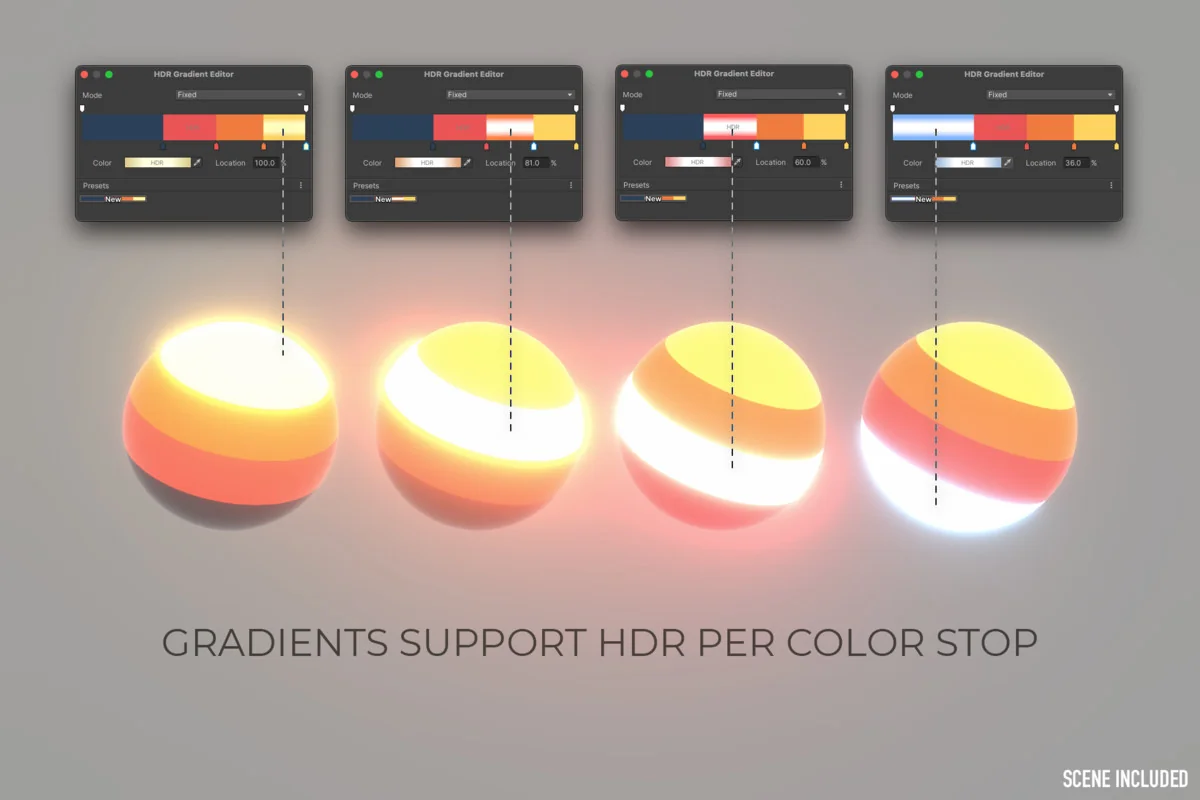
Gradient parameters are positioned as a way to make shaders more visually appealing and dynamic than what is possible with colors, textures, and floats alone. They are useful across a wide range of looks, from simple lowpoly shading to complex volumetric effects. HDR gradients are supported as well, so parts of a gradient can be defined to emit light. That gives gradients a more active role in the final result instead of treating them as a purely decorative color ramp.
Chroma also includes a way to generate randomized gradients quickly, which can help when the goal is to test variations or get ideas moving without building every palette by hand. The gradient tools are paired with a synchronization utility, so the same gradient can be edited in one place and applied to multiple materials. That keeps repeated color work from turning into a manual update job.
Curve parameters serve a different purpose. They offer control over numeric values inside shaders, bringing curve-driven shaping into shader work rather than leaving it limited to scripts. That makes them useful whenever a shader needs a value to evolve in a more controlled way than a single constant can provide.
Work with palettes and keep related materials in sync
Chroma includes Adobe Color and ColorHunt integration, which makes it possible to browse trendy palettes and paste them directly into a material. It also supports extracting palettes from images. Those tools make color exploration part of the shader workflow instead of a separate task that has to be copied in by hand.
The gradient synchronization utility is another practical piece of the workflow. It is available through Create → Chroma → Gradient Synchronizer, and it lets one gradient be edited in a single place before being applied across multiple materials. That is especially useful when a project depends on a shared look and several materials need to stay visually aligned.
This kind of workflow keeps recurring color changes manageable. Instead of reopening each material and adjusting the same gradient over and over, the shared control point stays in one place. That is a clear fit for production work where the same visual language has to stay consistent across several shaders or materials.
Fit it into the render pipeline and shader style already in use
Chroma works with any render pipeline, including the Built-in RP, URP, and HDRP. It also supports both Shader Graph and code shaders written in Cg or HLSL. That combination gives it a broad place in Unity shader work, whether the project uses graph-based authoring or hand-written shader code.
The integration is described as effortless and not disruptive to an existing workflow. That is important because shader tools can become difficult to adopt when they require a complete change in how materials are authored. Chroma keeps the decision local: the shaders that need its inspector structure or parameter controls can use it, while the rest of the setup can stay as it is.
For projects that need cleaner shader presentation, gradient-driven controls, and a way to organize material inputs without adding friction, Chroma provides a practical path. It focuses on the parts of shader editing that are usually handled by manual discipline, then turns them into reusable controls inside the shader workflow itself.
Preview Images
Protected download
Access this resource
All resources are 100% manually reviewed to eliminate all risks.